
How to Use Microdata Person on Your Portfolio Website and Improve Your SEO
Antonio Gioia, 2013

Introduction to Microdata
The Microdata specification, one of the new HTML5 features, allows content producers to describe specific types of information. This structured data can be read and used by search engines to provide more specific results. For example, Google will use this data to enrich the results of a query with a rich snippet. You can find a quick introduction to microdata in this video. Here’s an example of a rich snippet:
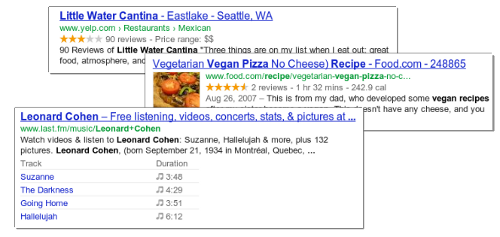
A more detailed search result gives users a better idea of your content and improves your search engine optimization.
Microdata items and properties are defined in a public vocabulary, a structured data markup schema supported by major search engines. In the following example, we will use the schema.org markup. We can refer to the vocabulary to decide which properties of the item Person we want to use. There are items for different purposes like Events, Products, Places, Movies, etc. Remember that search engines will not use content that is not visible to users. In fact, Google states: “You should mark up the text that actually appears to your users when they visit your web pages.”
How to Use Microdata
Microdata markups are attributes in HTML tags. A container for an item is set by the attribute itemscope. Let’s assume we have relevant personal information in the footer. The microdata Person item in HTML markup would be:
<footer itemscope itemtype="http://schema.org/Person"></footer>In the footer, we have our basic information in a paragraph and a personal picture:
<p>
Antonio Gioia <br>
Web developer <br>
Lecce, Italy
Website:
<a href="http://antoniogioia.com" title="Website">http://antoniogioia.com</a>
E-mail:
<a href="mailto:info@antoniogioia.com" title="E-mail">info@antoniogioia.com</a>
<img src="img/antonio-gioia.jpg" alt="Antonio Gioia">
</p>
In this small snippet of code, we can collect several properties: name, jobTitle, PostalAddress and its nested subproperties addressLocality and addressCountry, url, email, and image. In this example, we will use the span tag to label the item properties. For links and images, we can use the attribute in the HTML tag.
<footer itemscope itemtype="http://schema.org/Person">
    <p>
    <span itemprop="name">Antonio Gioia</span><br>
    <span itemprop="jobTitle">Web developer</span><br>
    <span itemscope itemtype="http://schema.org/PostalAddress">
        <span itemprop="addressLocality">Lecce</span>,
        <span itemprop="addressCountry">Italy</span>
    </span>
    Website:
    <a itemprop="url" href="http://antoniogioia.com" title="Website">http://antoniogioia.com</a>
    e-mail:
    <a itemprop="email" href="mailto:info@antoniogioia.com" title="E-mail">info@antoniogioia.com</a>
    <img itemprop="image" src="http://antoniogioia.com/images/antonio-gioia.jpg" alt="Antonio Gioia">
    </p>
</footer>
Test Your Structured Data
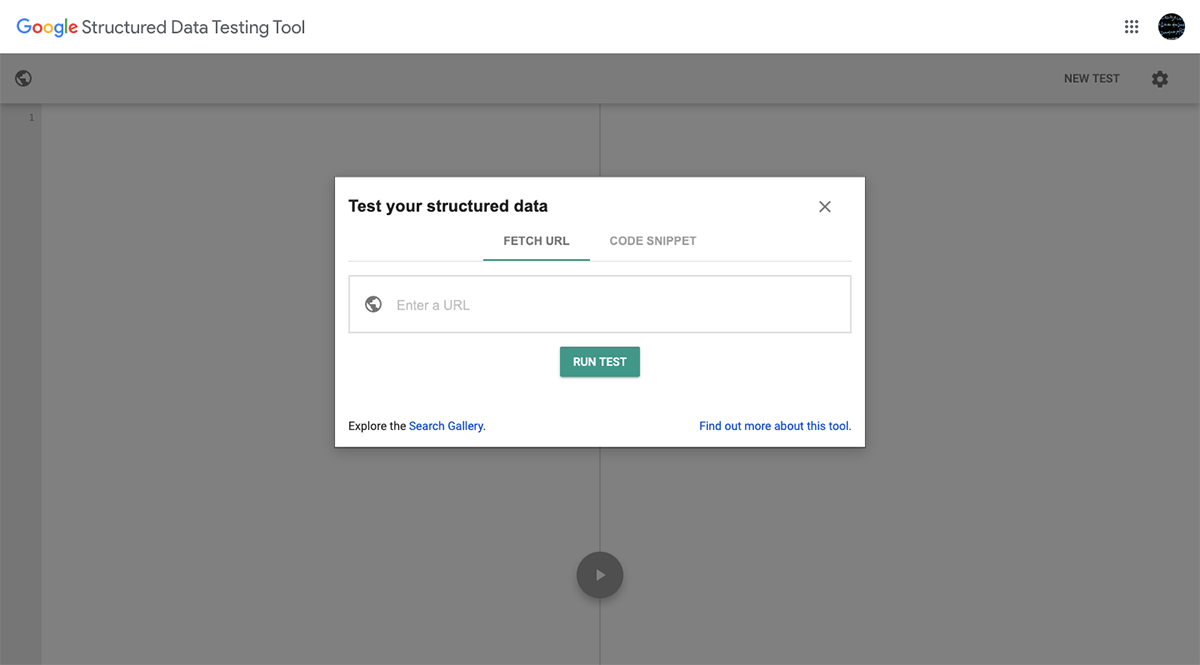
You can test microdata markup with the Google Structured Data Testing Tool.
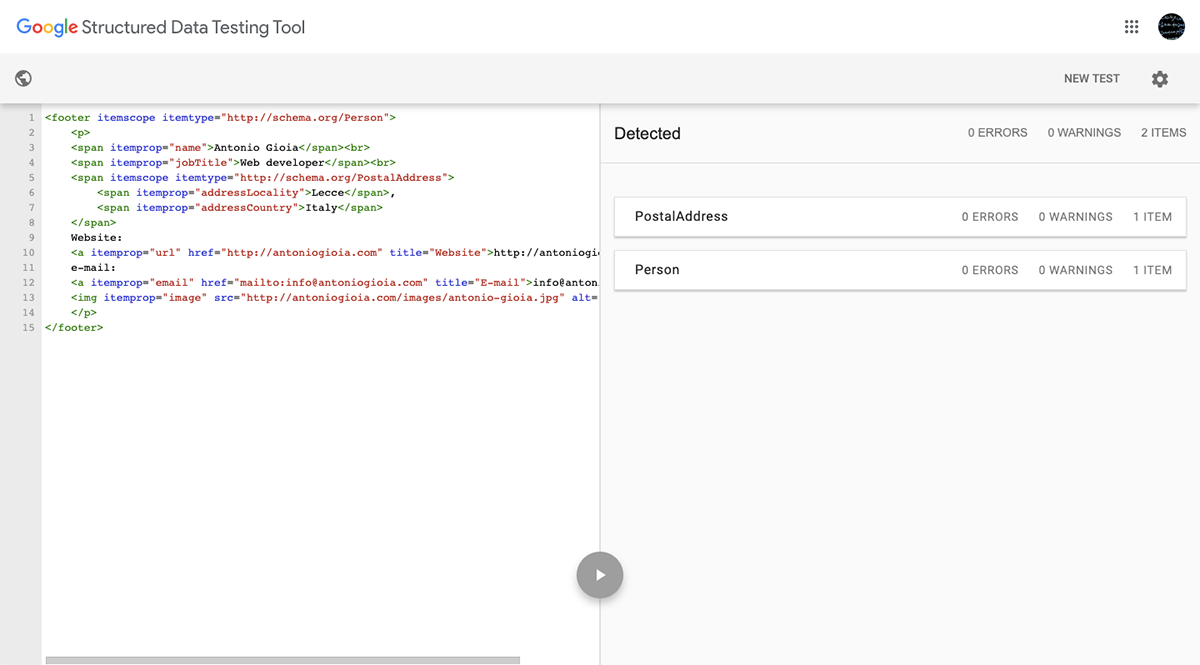
You can test a URL or a piece of HTML. If we paste the example code from above into the code snippet form, it returns a result page with the extracted structured data:
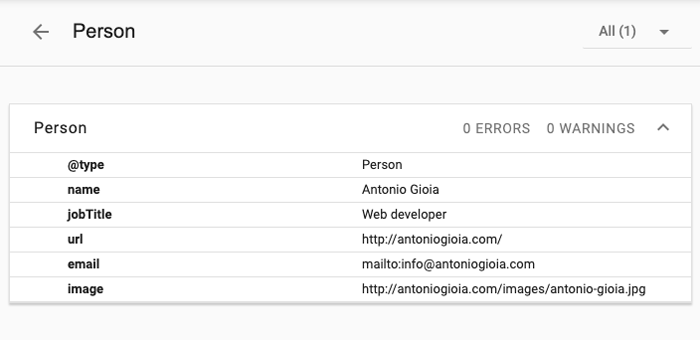
And here’s the Person item in detail:
Links to Learn More About Microdata
- HTML5 Microdata Specification
- Schema.org: Industry-Supported Microdata Markup
- Microdata Generator Tool Based on Schema.org
- Google Structured Data Testing Tool
- Introduction to Rich Snippets Video
Notes
Feel free to save or share this article. If you notice a mistake or want to contribute to a revision of the article, please contact me at info@antoniogioia.com.


